
Views: 0 Author: Site Editor Publish Time: 2026-10-18 Origin: Site


Should you pour diesel into a new filter before installing it? This fierce debate has echoed across garage floors and fleet maintenance bays for decades. It deeply divides seasoned mechanics and everyday truck owners. Maintaining a pristine fluid environment remains the absolute lifeblood of any heavy-duty vehicle. However, modern engineering has drastically altered our routine maintenance protocols.
Historically, topping off a fresh canister was standard operating procedure. Today's microscopic engine tolerances have completely rewritten that rulebook. In this comprehensive engineering guide, we will definitively answer whether you should prefill your canister. We will explore the devastating financial risks of doing it incorrectly. Finally, we will outline the ultimate best practices for a safe and air-free installation.
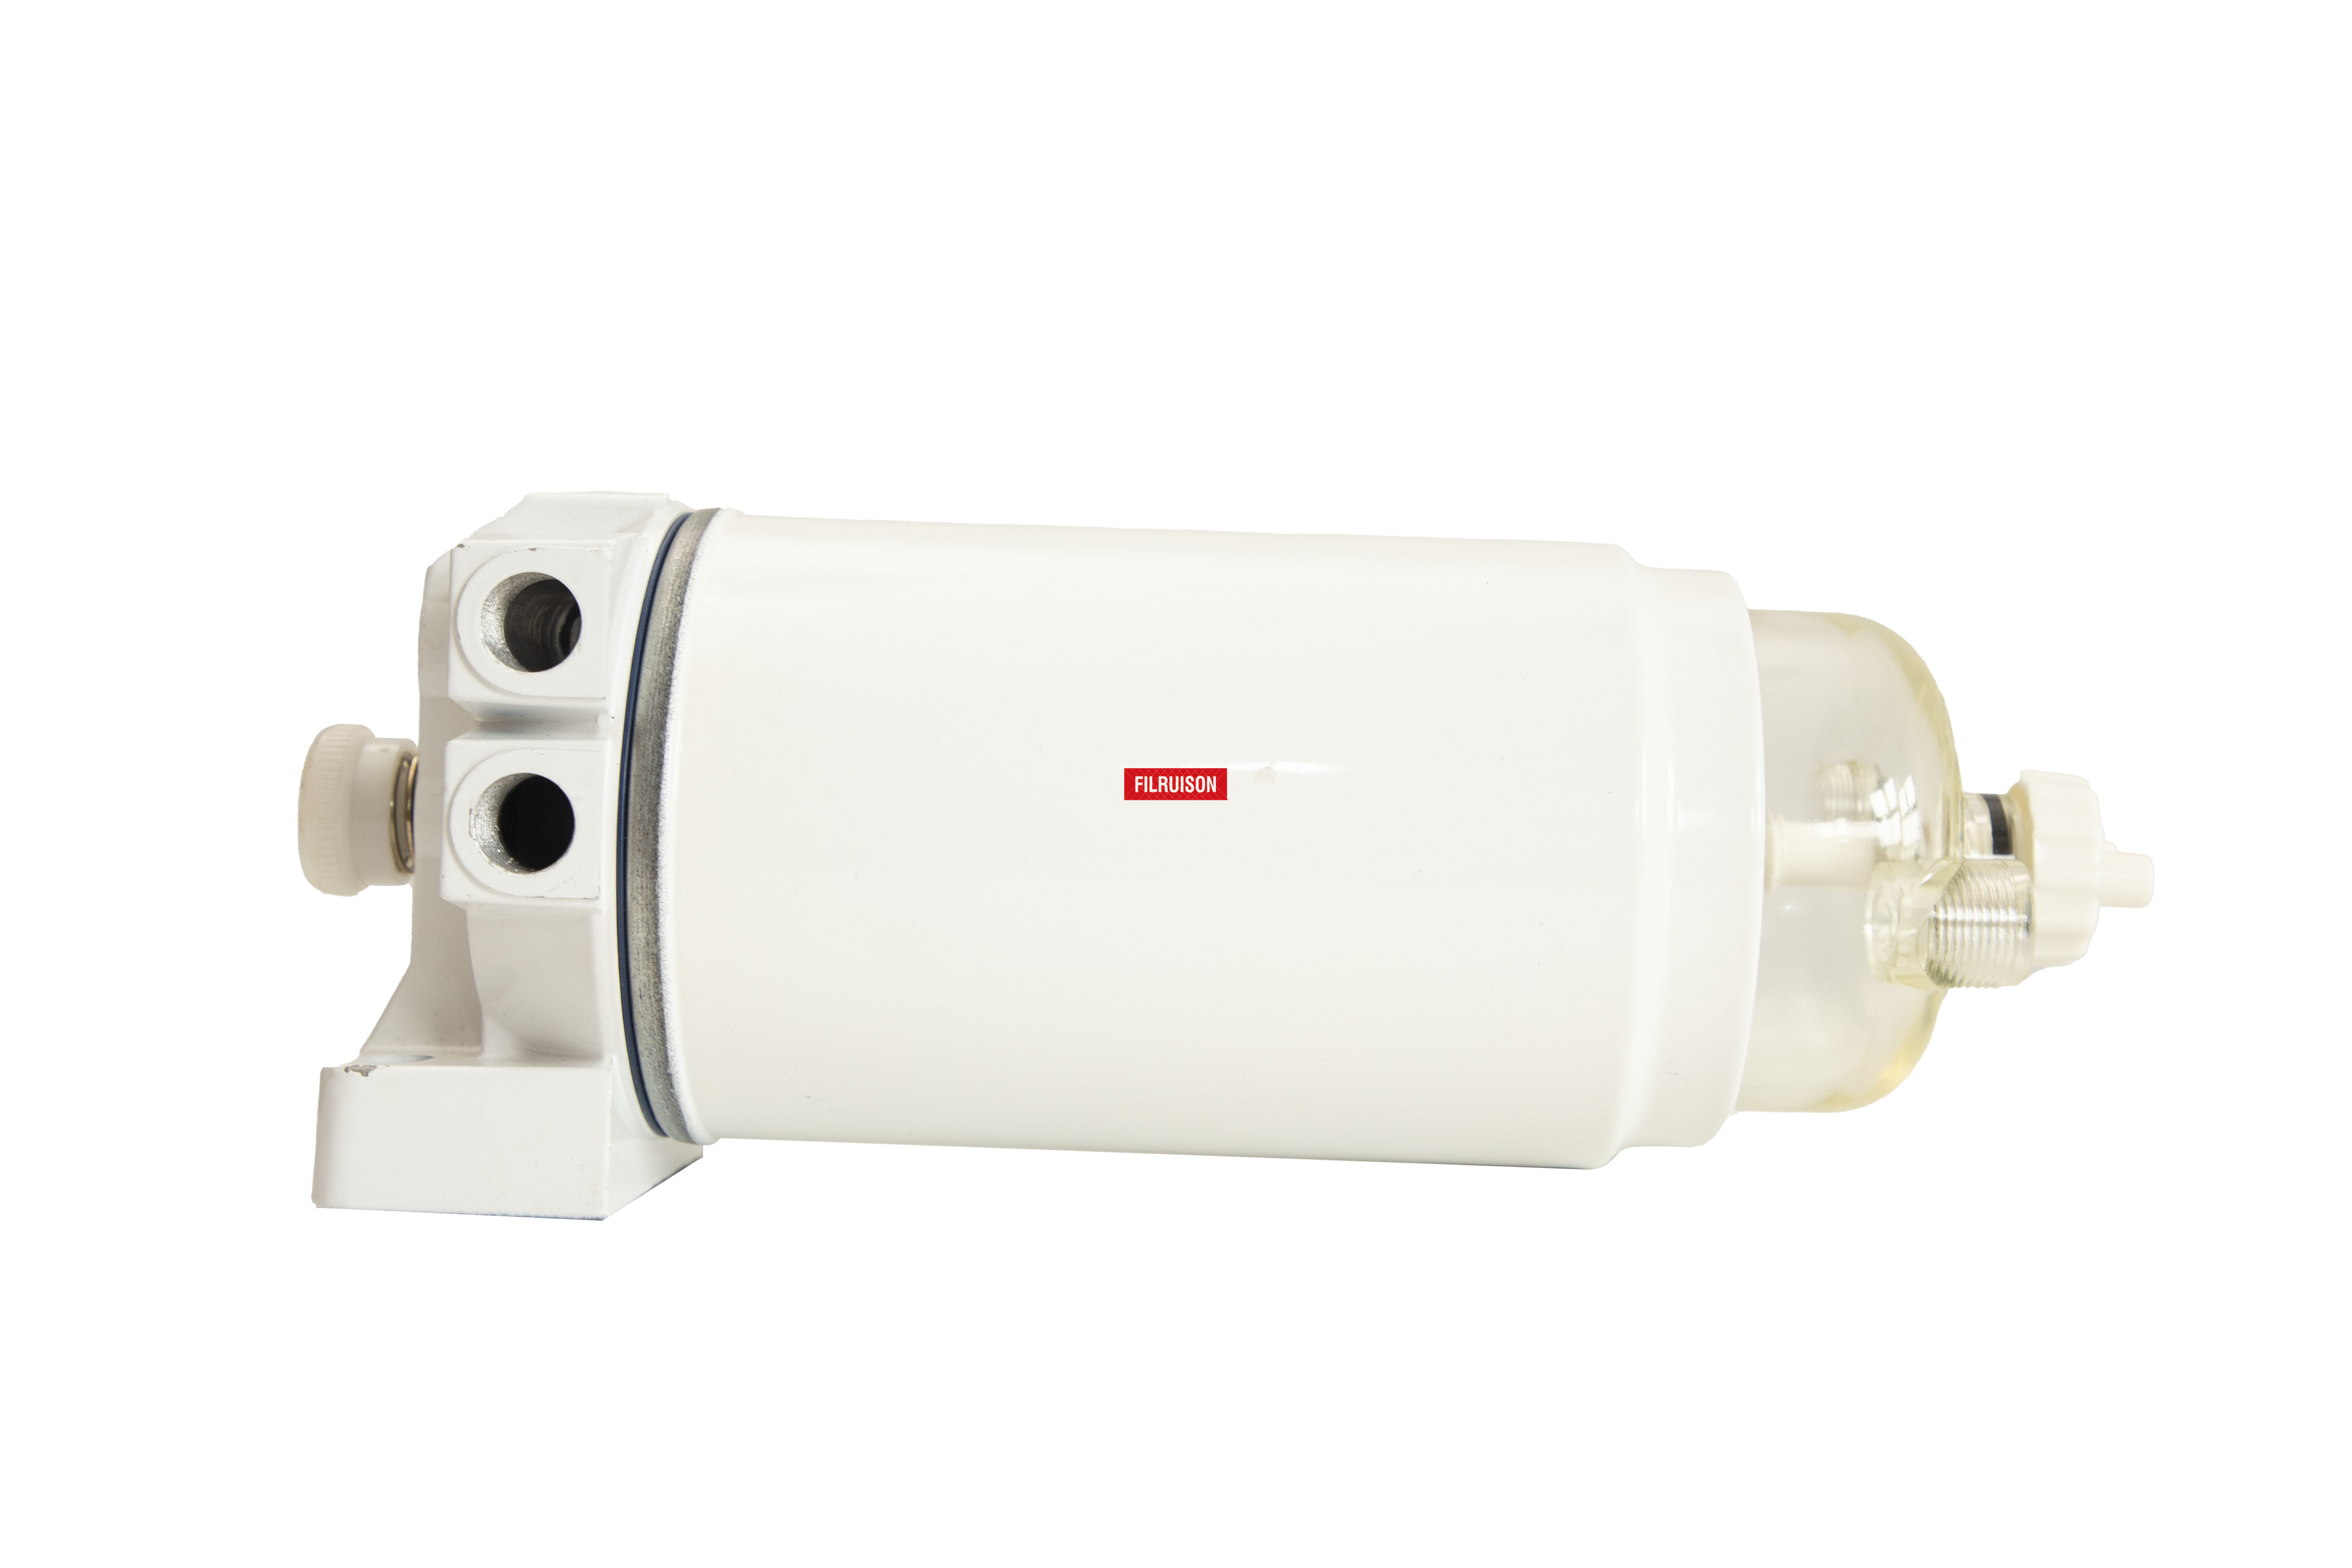
At its core, this component acts as the primary defense mechanism for your motor. Its fundamental function is to trap abrasive dirt, rust flakes, debris, and organic growth often referred to as diesel algae. These threats must be stopped before they migrate from the tank to the combustion chamber. High-quality Fuel Filters for Diesel Engines also actively separate emulsified water from the combustible liquid. This separation is a non-negotiable step for preventing severe internal corrosion.
Diesel is inherently dirtier than standard gasoline. It possesses a higher viscosity, allowing it to hold significantly more suspended particulates. It also naturally absorbs moisture directly from the atmosphere. Because of these unique chemical and physical properties, robust and multi-layered filtration is an absolute necessity for the longevity of your vehicle.
To truly grasp why extreme cleanliness is required, one must look at the brutal operating conditions under the hood. Today's injection systems operate under punishingly high pressure. This maximizes atomization, fuel efficiency, and towing power while simultaneously minimizing tailpipe emissions. These advanced architectures frequently operate at pressures exceeding 30,000 PSI. Some newer iterations push closer to the 40,000 PSI threshold.
At these immense pressures, the internal clearances inside the injectors and the high-pressure pump are microscopic. They are often measured in just a few microns. A standard human hair is roughly 70 microns thick. If even a microscopic speck of silica or a single drop of water bypasses the media, it acts like a high-speed sandblaster. This intense abrasive action scores the hardened internal metal surfaces. It inevitably leads to severe damage, loss of combustion pressure, and ultimately complete engine failure.
Analyzing current maintenance trends reveals a massive paradigm shift in heavy-duty fluid management. With the implementation of ultra-low sulfur diesel and increasingly strict global emission mandates, injection pressures have skyrocketed. Fleet managers and reliability engineers are now prioritizing zero-contamination protocols over sheer installation speed.
Search data and modern technical service bulletins show a sharp decline in manual pouring practices. Instead, the industry is widely adopting advanced electronic priming tools and multi-stage filtration systems. The modern consensus focuses entirely on risk mitigation. The catastrophic cost of high-pressure pump failures far outweighs the temporary convenience of an old-school shortcut.
When technicians discuss a routine Filter Change, the manual pouring method refers to a very specific physical action. Instead of threading a brand-new empty canister directly onto the vehicle housing, the mechanic takes a jug of fresh liquid. They pour it directly into the open top of the new unit until it is brimming. Only after the media is completely saturated is the heavy component screwed into place.
If you are operating a post-2000s vehicle equipped with electronic injection, the definitive answer from major parts manufacturers is a resounding no. The structural design of a spin-on canister explains this strict rule. Liquid is engineered to enter through the small outer perimeter holes known as the dirty side. It passes through the microscopic synthetic media and exits through the large center threaded hole known as the clean side. Pouring liquid from a plastic jug directly into the open unit inevitably splashes right into that large center hole. This completely bypasses the protective media.
Understanding your specific engine architecture is the key to proper maintenance. Below is a definitive breakdown of how installation protocols differ across generations.
| System Architecture | Operating Pressure | Contamination Tolerance | Installation Method |
|---|---|---|---|
| Vintage Mechanical Injection | 3,000 to 5,000 PSI | Moderate to High | Manual pouring acceptable using center-plug method |
| Early Electronic Unit Injection | 15,000 to 20,000 PSI | Low | Dry installation strongly recommended |
| Modern Common Rail Diesel | 30,000 to 40,000 PSI | Zero Tolerance | Strictly dry installation only |
A pervasive and dangerous misconception among DIY mechanics is that liquid pumped straight from the station is inherently sterile. In reality, this fluid is teeming with microscopic silica, rust flakes, and atmospheric dust. When you pour without plugging the center hole, you are manually dumping these destructive contaminants directly into the most expensive part of your vehicle.
The financial fallout from this seemingly innocent shortcut can be staggering. Modern components operate at extreme pressures. A single piece of unfiltered debris can permanently score the internal pintle. It can easily clog the microscopic nozzle. This damage frequently causes the injector to stick open. It dumps a continuous stream of excess combustible liquid into the cylinder, which can literally melt a piston.
Replacing a modern high-pressure pump alongside a full set of injectors is rarely a minor repair. It often requires lifting the cab of the truck. Mechanics must replace the entire high-pressure system due to catastrophic metal shrapnel contamination. These repair bills easily exceed tens of thousands of dollars.
The extraction of the old canister must be handled with surgical precision to prevent cross-contamination. Start by placing a clean drain pan under the vehicle. Open the petcock valve at the base of the housing to empty the existing liquid. Utilize a properly sized wrench to carefully unscrew the old unit. Take a moment to thoroughly wipe the aluminum mating surface on the engine housing with a clean and lint-free shop rag. Any residual grit left behind will compromise the new O-ring.
The golden rule of modern care is maintaining a completely sterile clean side. Remove your new replacement from its packaging only when you are immediately ready to mount it. Apply a light and even coat of clean engine oil to the rubber O-ring. This vital lubrication prevents the gasket from binding or rolling out of its groove. Thread the completely empty canister onto the housing by hand. Tighten it strictly according to the manufacturer specifications. Avoid using a wrench to tighten, as overtightening will crush the gasket and cause severe leaks.
Mounting a dry canister inevitably leaves a large void. Displacing this void safely is the most critical step of the entire procedure. Failing to do so will result in a severe Air Lock.
Many heavy-duty vehicles feature a manual hand-pump primer located directly on top of the housing head. Open the bleeder screw slightly. Depress the primer button repeatedly. Continue this action until clear liquid begins to weep from the bleeder. Close the screw and pump a few final times until the button feels highly resistant to pressure.
Alternatively, the majority of modern trucks utilize a powerful electronic lift pump situated inside the tank. To prime these advanced setups, simply turn the ignition key to the ON position without engaging the starter. Leave it there for roughly thirty seconds. You will audibly hear the electric pump whining as it forces liquid into the dry canister. Turn the key off and repeat this cycle multiple times. This safely fills the void and purges the trapped air back to the tank via the return lines, protecting your entire Fuel System.
Executing a flawless installation procedure is only half the battle. The caliber of the component you thread onto the housing dictates your motor lifespan. It is highly advisable to avoid cheap and unbranded aftermarket options. These budget-friendly alternatives frequently utilize inferior single-layer cellulose media. They easily collapse under intense pressure and fail to meet strict micron ratings.
You must select an OEM-equivalent or a premium aftermarket unit that explicitly advertises its absolute micron rating. For instance, industry-leading components like the Sykingtech PL3495570 feature advanced multi-layered synthetic media. These premium units deliver absolute filtration down to 4 microns. They also provide a 99 percent separation efficiency for emulsified water. When evaluating your next component, demand these exact industrial-grade parameters. Investing a few extra dollars upfront is the most cost-effective insurance policy available.
Aggressively managing moisture is the second half of the battle. Temperature changes cause condensation, leading to free water mixing directly with your fluid. If this water reaches the extreme heat of the combustion chamber, it vaporizes instantly. This creates microscopic explosions that can literally blow the tip off an injector.
Upgrading your setup to include a dedicated water separator is highly recommended. These specialized units utilize advanced coalescing media. This technology forces microscopic water droplets to merge into larger and heavier drops. These drops then safely fall to the bottom of a transparent collection bowl where they can be drained away. This specific type of product offers superior multi-layered protection against both water emulsification and particulate damage.
Put down the pouring jug right now. Unless you are wrenching on a vintage mechanical tractor, you should never manually introduce liquid into modern heavy-duty filters. Doing so bypasses critical protective media and sends dirty abrasive fluid straight into the most expensive components of your motor.
Always install the new canister completely dry. Take the extra five minutes to prime the lines properly using your vehicle built-in manual or electronic pumps. This modern approach safely prevents cavitation without exposing your injectors to catastrophic risks. To ensure maximum protection and efficiency, upgrade to premium water-separating components. Visit Sykingtech today to explore industrial-grade filtration solutions engineered to meet the rigorous demands of your specific engine architecture. Proper maintenance and superior parts will keep your heavy-duty vehicle running smoothly for hundreds of thousands of miles.
It will only cause a stall if you fail to properly prime the lines after installation. By utilizing the vehicle manual hand pump or electronic lift pump, you safely push trapped air out of the lines. This fills the canister with liquid before ever cranking the starter. It displaces the void safely without introducing unfiltered contaminants.
No. Regardless of how carefully you pour, unfiltered liquid from your container will enter the motor unless you completely block the large center hole with a dedicated threaded plug. Even liquid that looks perfectly clean to the naked eye contains microscopic contaminants that easily exceed the strict 2-micron tolerance of modern injectors.
For most modern trucks, you should turn the ignition key to the ON position without engaging the starter and leave it there for twenty to thirty seconds. Repeat this exact process three to five times. You will often hear the pitch of the electric lift pump change. This indicates that the canister is completely full and the lines have achieved proper operating pressure.
The motor will likely sputter violently, stall immediately after a brief start, or fail to fire up entirely. To resolve this, you will need to locate the bleeder valve. Open it slightly and use the primer pump until a steady and solid stream of liquid flows out without any sputtering bubbles.
Modern high-pressure injection systems require extremely fine filtration. The industry standard dictates an absolute rating between 2 microns and 4 microns. Using a component with a higher micron rating allows destructive silica and debris to pass through, which will rapidly degrade the internal valves and nozzles.
Absolutely. A severely restricted element forces the high-pressure pump to work exponentially harder to draw fluid from the tank. This extreme suction can lead to fuel starvation and cavitation. Cavitation creates microscopic vapor bubbles that implode violently against the metal surfaces of the pump, causing rapid and permanent structural damage.
While the exact interval varies significantly by manufacturer and operating conditions, a reliable general rule of thumb is every 10,000 to 15,000 miles. If you frequently purchase fluid from low-volume stations or operate heavily in high-dust agricultural environments, you will need to reduce this interval. Always consult your specific owner manual for the exact mileage intervals required for your exact model.
